
I chose it because I wanted a black table. No other reason. It doesn't have a lot of character, it's clean and simple and well . . . plain.
Here it is in another time and place.
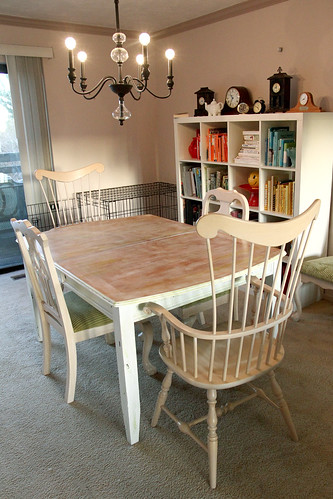
I'm actually shocked to see it in this condition, in this photo, right now. So shiny and clean and pretty looking. It wasn't looking too pretty the other day when I finally decided to give it everything I had in the once over department (name that movie!).
The wood is soft, which means that the table had suffered some serious dings over the years.
I wanted to take a stab at making it look like a farm house table, with the intention of bringing my home decor a little closer to the eclectic vibe I crave.
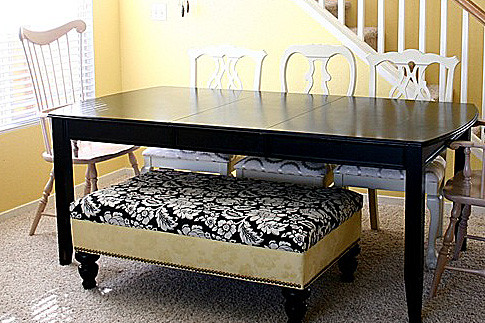
I thought it over and figured that reading about what I did to my table, without any idea of how the table came out at all, might feel a little odd. So I've decided I'll tease with one photo of the finished product . . .
Farmhousey as all get out, if you ask me. Plus the table itself is quite modern so it all kind of works. Inside my mind, anyway.
But back to the story!
The weather has been unseasonably warm lately. And I'm not talking "Wow, it's warm for January." It's actually warm. High 60's and low 70's. Logical deduction (and weather.com) tells me that winter won't arrive for several weeks, which means it will likely last into July, which means I'd better do any warm-weather-dependent crafts now, while the weather lasts.
So my sister helped me drag this beast out to the front walk, where we took turns sanding and sanding and sanding it.
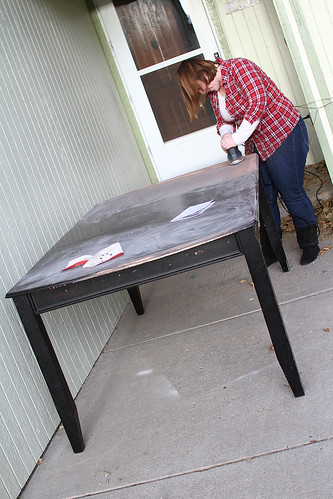
Goodbye black paint.
We used a handheld sander purchased at Home Depot for about $30, with 60 grit sand paper. The paper is sold pre-cut to fit the specific sander. Make sure you get the right kind because the wrong ones don't really fit. But don't distress! (Ha! Get it? Sand paper? Distress? I'm hilarious.) You can make the wrong paper work, in most circumstances. I know this from experience.
The first step is pretty straight forward. Just a lot of sanding, for a long time.
Here's how it looked as the paint started to come off.
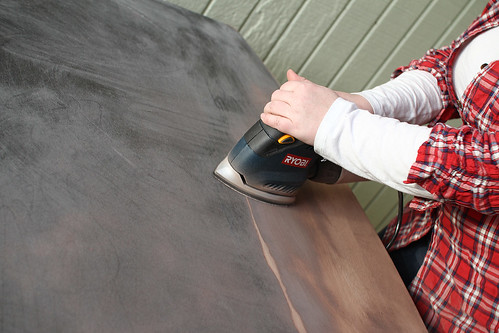
In the above photo you can also see the crack in the finish, as it slowly disappeared under the sander's ripping grains. Under that crack we discovered that the veneer was totally gone. The wood underneath was an MDF type board that has no grain to it. Even though my original plan involved repainting and distressing it, I knew for sure, when I saw that the veneer was gone in places that simply staining it was not an option.
And here it is after a couple hours of work and the decision to call it a night.
I made the decision to leave the leaf in the table throughout the refinish process, in an effort to make the new finish match well, across the whole table. I don't keep the leaf in the table on a day-to-day basis anymore, as you've seen above.
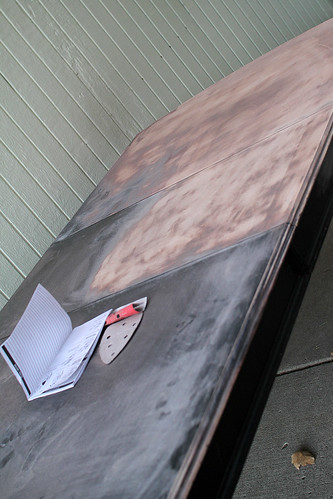
Here's a closer image.
The upper part of this photo shows what the finish looked like after one quick go-round with the sander.
The lower part shows what it looked like after several go-rounds.
I did another couple or so to remove all the finish, before I moved on to refinishing it.

This table had a rather thick finish on it. After the fact I thought that I might have been smarter to use a chemical stripper first, but maybe not. Sanding it wasn't particularly difficult, but it did take some time.
The next morning I set to work and after a couple more hours working with the sander, it looked like this:

I'm gonna call it a night! Tomorrow I'll post more! I'm sure you're very excited.
No comments:
Post a Comment