
look like this:
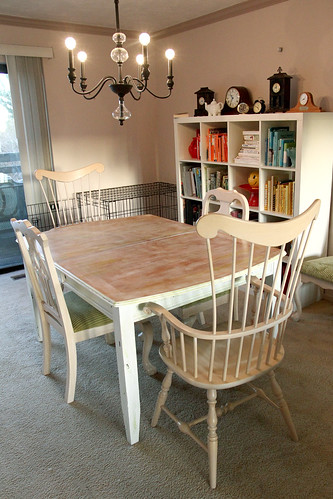
We talked about all the many years of sanding in the last post. Which, after I posted, I thought "Sheesh, Emily. You probably could have dealt with that in a couple sentences!"
But the good news is, I was thorough.
So after I had completely rid the table of it's painted top, I took some help from the family and gave it a little bit of a beating.
We made little x shaped divots in patches here and there by placing the point of a phillips head screwdriver on the table top and tapping it once or twice with a hammer. Don't let your husband, or any adult male tap the hammer twice or you will get the largest x shaped divot ever. Men are not subtle when it comes to hammers. We also created lots and lots and lots of crescent moon shaped hammer head marks, everywhere.
Children like to beat furniture, they'll do it for you with no complaint at all. Husbands will get a little carried away and possibly need to be told to slow down.
The hammer marks were difficult to see before the finish process highlighted them. I'll post another photo of that below.
After the abuse, I cleaned the table top off with a dry towel (canned air would be perfect for this) and applied two coats of polyurethane with a sponge brush.
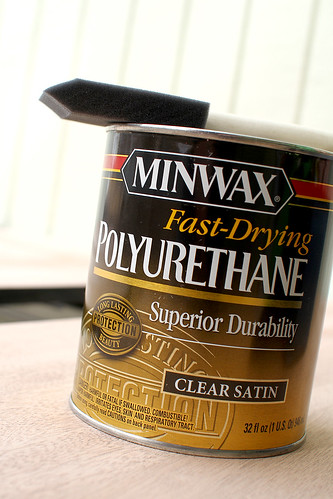
Since I knew that I wanted the wood to show through the paint, I elected to use this particular product to deepen the wood color, before I started painting. I never would have thought to do this if it weren't for this post from The Lettered Cottage. So Layla gets all the credit on that one.
I did two coats of poly, allowing it to dry a couple of hours between each coat.
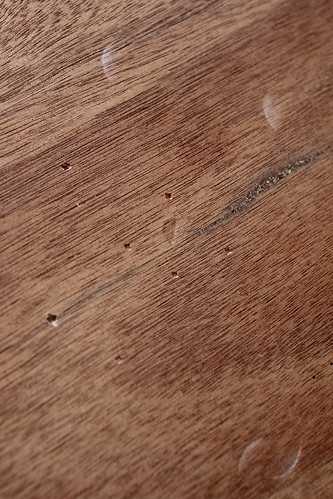
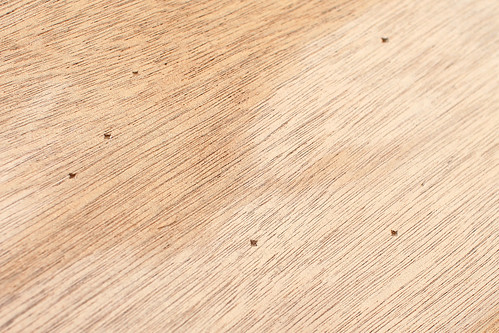
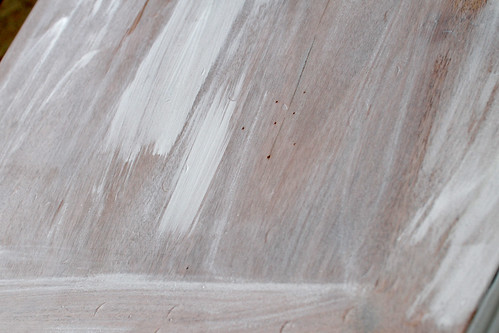
The distressing was a little more visible after the poly went on.
You can also see a spot there where the veneer was totally gone, as well as a fresh hammer mark or two that we added after we did the poly. We just felt like it needed a few more. (Don't forget how husbands like to hit tables with hammers, he couldn't help himself.)
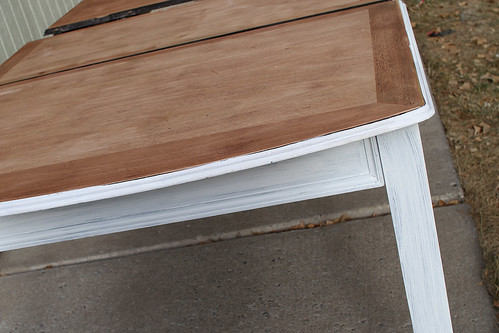
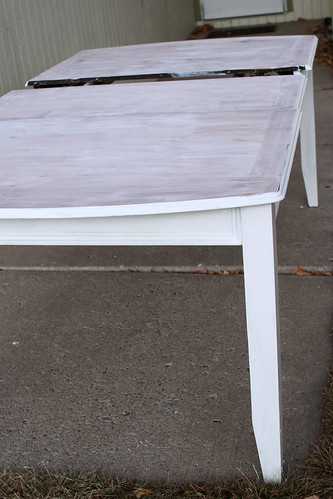
After two coats of polyurethane the table looked like this:

You can see in the above photo that I attempted to sand the edges of the table down, only to discover that the edges of the table were terrible and awful and apparently made of paper, or possibly cow patties and straw. I don't actually know what they're made of, but while sanding the material kind of just crumbled off. The legs were also made of this material.
After some thought and semi-careful planning I decided I would go ahead and paint the edge of the table white, just as I planned to do with the base. All I did to prep the legs was a super light rough-up with the sander, just so the paint would stick.
I think I did about 3 coats of white paint, alternating with the 2 coats of poly I did on the table top, thereby reducing my down time. As it worked out I ended up working outside on the table for pretty much the entire day.
After a couple coats of white, most of the black was covered and the edge was looking much nicer.
See the brush marks on the legs?
I wasn't particularly worried about those. I had plans for the legs, that involved making them look much worse (which is also better, right?) than a few brush strokes made them look.
When most of the black was covered I pulled out my secret weapon.
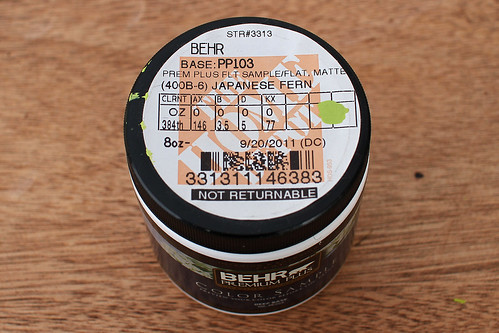
A tiny little tester pot of Japanese Fern by Behr. I purchased this several moths ago as a tester for my bathroom linen closet door, but since I've yet to test anything, it's just been sitting around the house waiting to be used. I definitely hadn't planned to use this particular paint on this particular table, but when the idea hit me I was excited, so I went to town.
I painted the green in patches all over the edges and base of the table.
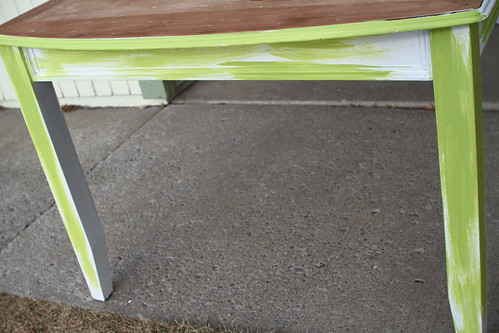
After I let the green patches dry I painted another good full-coverage coat of white over that. All of this was done, of course, with the intention for it to show through later when I distressed the legs and base of the table. You can't see it in the after photo I've posted, but I have detail photos I'll share later.
For my final step of the day I applied the white wash to the top of the table. I used off the shelf white from Home Depot, that I already had on hand. Mixing about half water and half paint in a mason jar, I made approximately 16 times more white wash than I needed. Just so you know.
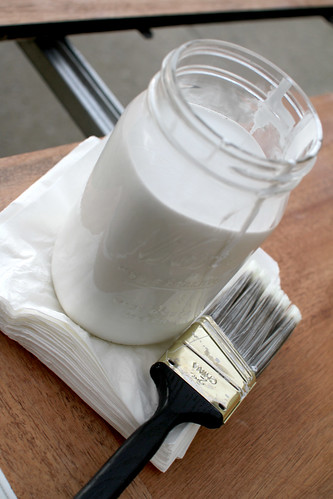
Since the very wet water and paint mixture goes on super wet, I decided I would actually drizzle wet paint on the table in sections. Then I used a pretty gnarly looking, cheapo, dry paint brush to smear it around on the table top, thereby leaving streaks in the top and allowing the wood to show through. I brushed the paint in the direction of the grain making sure to leave sections of thick paint and sections of thin paint.
The process of covering the table top went very fast and before I knew it was covered.
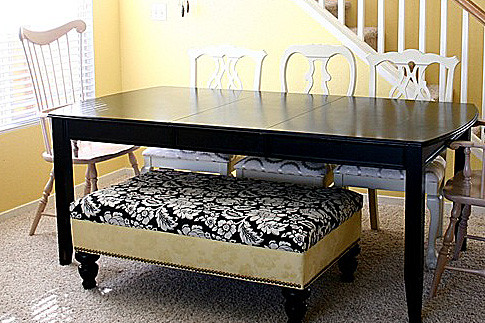
When I put the table up for the night, it looked like this:
Tomorrow, I'll post the conclusion of this project! And for now I'll tell you that I just totally love my new table a whole lot. I'm so thrilled to have been able to actually do this!
No comments:
Post a Comment