Tuesday, January 17, 2012

re: Sundance

Someday I'll get to go to the Sundance Film Festival, and actually be able to discuss new documentaries with those in the know.

For now, I'll watch shorts and previews, online. I will also discover that some movies at Sundance are just beyond my personal comfort level. But we can talk about that another time.

Quite possibly the most wacky and maybe bizarre short film, ever:


SO SO SO amazingly beautiful:

The Tsunami and the Cherry Blossom Trailer from Tsunami Blossom on Vimeo.

Friday, January 13, 2012

Re: My dining chairs

As a creative person who often acts on whims I sometimes experience a feeling we're going to call "Crafter's Remorse." 

You know, spray painting those candle holders chartreuse sounded brilliant, but now that I look at them . . .

and so on.

And I guess I wouldn't have been able to believe it if I hadn't felt a tiny sense of regret over my table refinishing project.  I never regretted refinishing the table, itself.  It needed to be done either way, the table was a wreck.  But when the table and chairs were back in the same room the whole thing felt a little Furniture Store to me. 

Home again!

More Matchy-Matchy than Michael Kors and I prefer for things to be.

And maybe pushing toward cottage-y, shabby chic.

Which isn't really where I'm headed.

I'm headed more kind of international country meets modern eclectic. Or something.

So I toyed around with a couple dozen ideas.

Paint the chairs?
Stain the chairs?
Get rid of the chairs entirely?
and so on.

But the chairs are the only quality furniture we own, and I just got done with a biiiiig refinishing project. So I went to look at fabric, for the 3 chairs with cushions.

I knew I wanted something colorful. Something that kind of reminds you of hand painted Mexican pottery or tile.

I found this almost immediately.

a

And I loved it.

BUT it was $45 a yard. Unsure if 1 yard would cover 3 cushions, I hemmed and hawed. I thought it over. I lamented.

Ultimately I decided that it was not in my budget.

And then went to the clearance racks, where I found a whole lot of garbage but then, buried and alone in the bottom of a pile, I found this

Ahhh!

and for only $6 a yard.

Perfect.

And even more perfect when I got to the cutting table and the employee told me there was an additional 50% off the clearance racks right now!

So I bought all that was left on the bolt, about 2 1/2 yards, for $7 and change. Yaaaaaay!

Then I brought it home and did this:

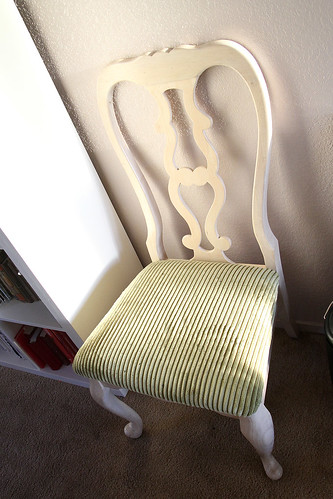
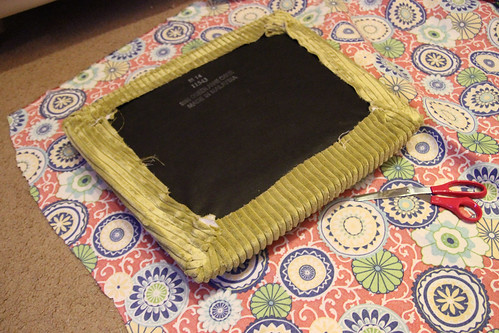
I do love this fabric, but it had to go :(

Goodbye beautiful green corduroy
I still love you green cushions!  You just don't work in my room anymore!

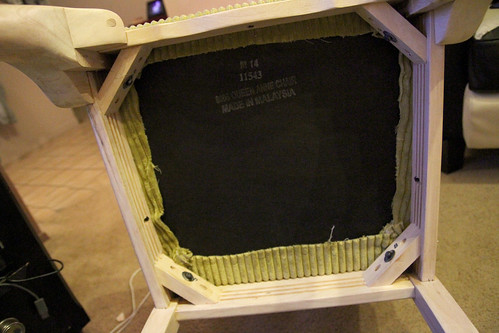
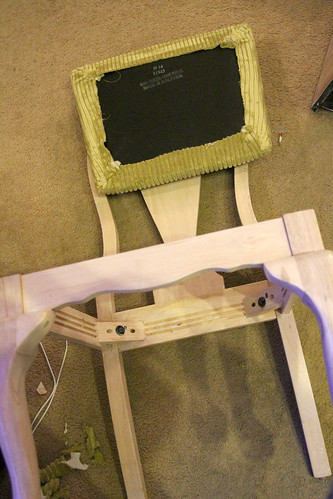
Let's get crackin'

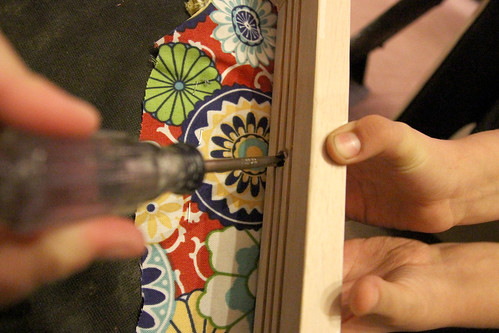
Unscrew

And we're off!

Cut out the new stuff

Wrap it up!

Staple Gun!
I bought the staple gun at the fabric store.  It was about $20.

Put it back together.
A little boy is the perfect helper when reattaching the seats.


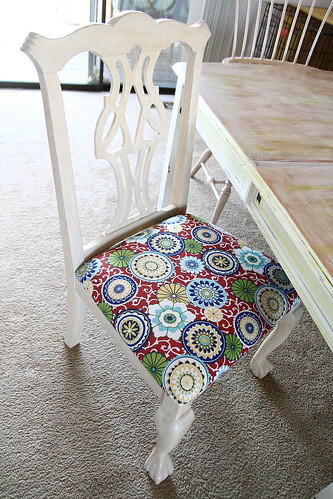
And just like that!  They're all done.
LOVES IT!

In the sunlight

Ahhh! Much better!

All told the project took me about 5 hours to complete.  Mostly because I removed the green fabric from the first chair I covered and that took FOREVER.  So I decided to just cover over it for the other two. 

I love the new cushions!  What do you think?

Wednesday, January 11, 2012

Bargainy

Look up there!  I've made up a word!  A word that means "sometimes you can make wonderful things for much cheaper than you can buy them!" 

I experimented in the BARGAINY creation of granola yesterday, after electing not to spend $3.50 for about 12 ounces of super plain granola.  Since I have a tree nut allergy it's difficult for me to find granola I can eat, anyway, and making my own seemed like a logical leap. 

So I purchased some ingredients, and decided I'd wing it.

I got:
1 large container of regular oats ($2.47)
Flake coconut ($1.72)
Wheat germ ($3.50)

and from the bulk bins:
Salted, roasted sunflower kernels (.84 lb for $1.60)
Soy nuts (.33 lb for $0.43)
Sesame seeds (.20 lb for $0.57)
Dried cranberries (.73 lb for $2.74)

And I already had on hand:
olive oil
brown sugar
maple syrup
honey

I'll calculate the actual cost of the granola a little later, since I didn't use all of each of the ingredients.

I did consult a few recipes before I jumped in, but I didn't follow any recipe to the letter.

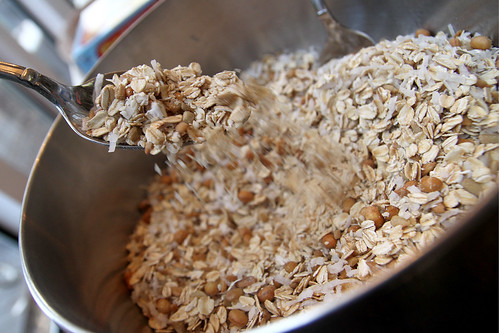
First, I mixed up the dry ingredients. In my case it was oats, sesame seeds, sunflower seeds, soy nuts, coconut, and wheat germ.

What I deduced here is that ingredients, and even proportions here don't really matter. Add things you think you'd like to eat. Make it sweeter or less sweet depending on your preference. It's fun! :)
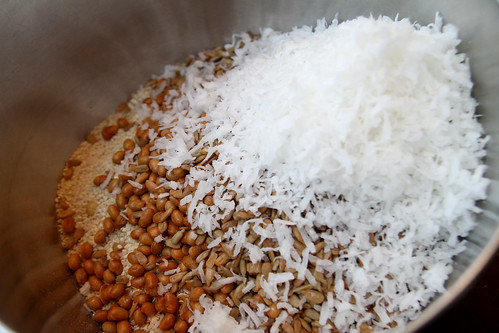
All the dry ingredients

Nice and Mixy!

Mix well

Now for the wet part. Or as my mom would call it "something to stick it together". Every meal needs to stick together. Didn't you know this? Well my mom knows it and utilizes this method!

In the sticky department I've used about 1/4-ish cup of olive oil, 1/2-ish cup of brown sugar and 1/4-ish cup of real maple syrup. I threw about a 1/2 teaspoon of salt in this step, too.

Again, I don't think that what you use here matters that much. You can skip the syrup if you don't have it or don't like it. You could use any kind of oil and any kind of sugar. Or no sugar if you're a lumberjack or something.

I mixed those up in a little bowl, kind of like I would do for a salad dressing.
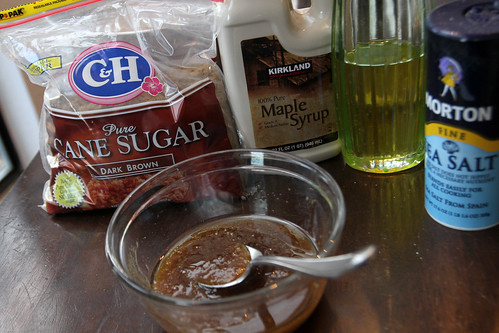
The something-to-stick-it-together

See? Looks like dressing, right? Well, sort of.
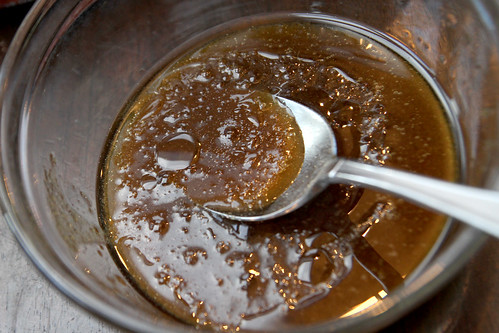
Kind of reminded me of a vinaigrette

Then, I drizzled the wet mixture over the dry mixture, thusly:
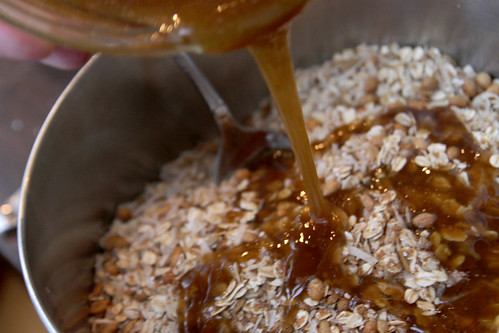
Coat dry mixture with sugar/butter/oil/syrup mixture

It covered the top pretty much completely.

Then just a little stirring and I came out with a concoction that kind of stuck to my spoon. The spoon sticking told me that my wet-to-dry ratio was working. If it seems to dry you can always drizzle a little more of something on there to get it where you want it.
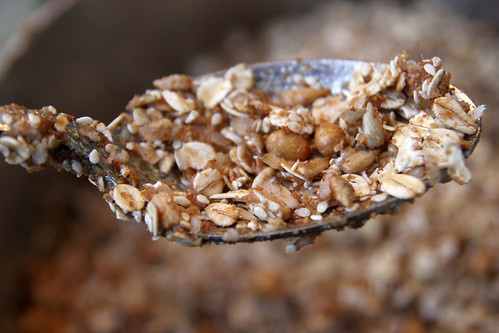
When it's somewhat sticky-togethery, you'll know it's ready

Then I spread it out on a cookie sheet, or in my case, two cookie sheets. I made a mistake here, that I wouldn't fully understand until I was finished with the whole batch. See if you can figure it out before I tell you.
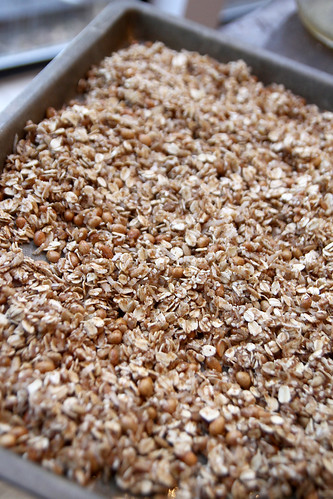
Spread on a cookie sheet

A little drizzle over the top of each pan with some honey
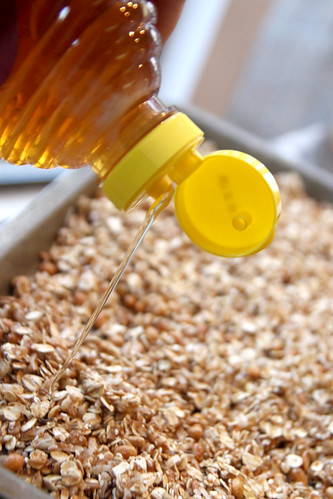
Honey drizzle

and then into the oven the pans went. The temp was set to 250 degrees.
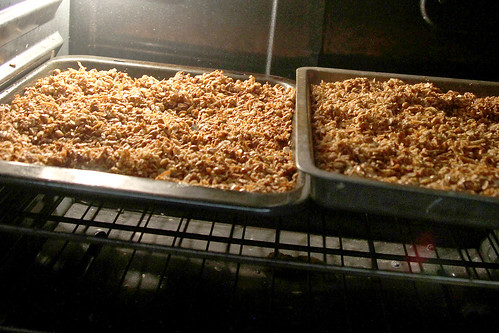
Into the oven at 250 for 1 hour and 15 minutes

(The two pans, that are not the same, and also are different)
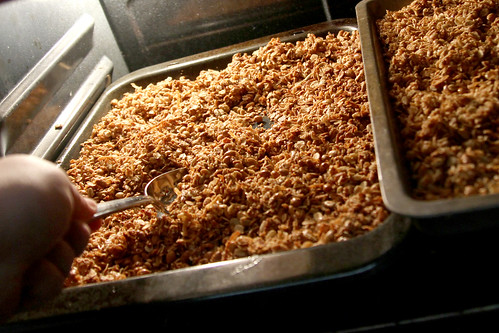
Stir every 15 minutes

I set the timer for 15 minutes, every 15 minutes. When the timer beeped I stirred the granola and reset the timer. It was like a little dance I did.

Alton Brown's granola recipe recommended 1 hour and 15 minutes of baking, stirring every 15 minutes, so that's what I did.

When it was about ready, I took the two pans out and saw something I didn't see when they were in the funny colored oven light.

Looks like the darker pan I used cooked the granola a weence faster. One pan was a bit . . . shall we say . . . caramelized.
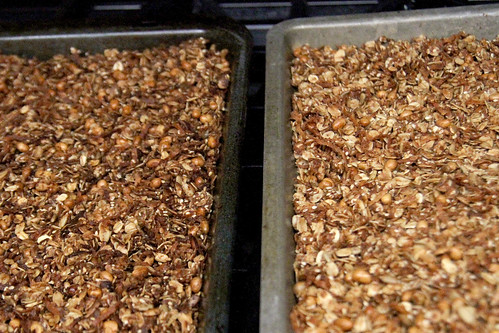
One of these things is not like the other

When we burn things in this family it takes a quorum of family members to decide what to do. So, as if there was nothing else to be done, the four of us stood around the stove top nibbling semi-burnt granola. We mostly agreed it still tasted ok. But we had to taste it some more.

And yeah, we definitely agreed, it's edible.

So I went ahead and mixed the two pans together, along with the dried cranberries I bought, and ta da! We have a finished product!
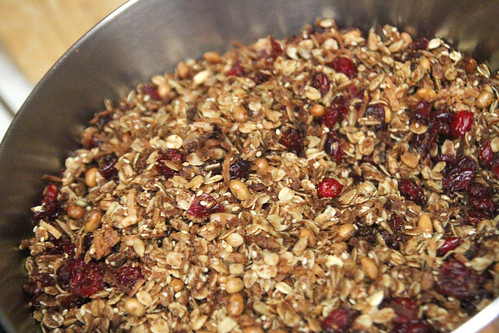
Mixed together with dried cranberries added

And just to be completely sure, my son and I decided we'd make a bowl with some milk, for a REAL taste test. It is quite tasty. Not too sweet, and the combination of soy nuts, sesame seeds and sunflower seeds almost tastes peanut buttery. Kind of yummy. Actually it might be really tasty with a few chocolate chips thrown in.
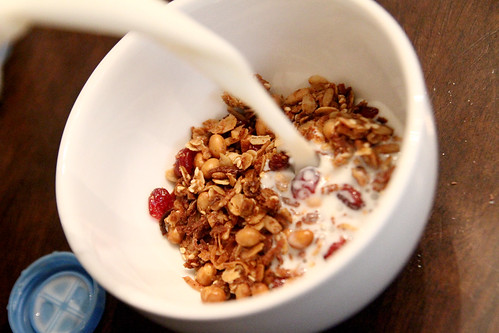
Taste Test

Ok, math time.
The tiny 12 ounce bag of granola I was going to purchase was $3.50. If you divide that out you get a per ounce price of about 29 cents.

So, was the home made cheaper?

Calculating approximate amounts of the ingredients I used, as well as approximate costs for the ingredients I already had on hand (about 1/4 of the oatmeal, all of the cranberries, just a couple tablespoons of wheat germ, and so on)

I've come up with a total price of $8.57 for my granola.

When it was all finished and bagged up, the bag weighed in at about 3 pounds.

My fancy math machine (calculator) tells me that's about 18 cents per ounce of granola.

But we should discuss something else.

The granola I was going to buy was the most basic of basic granolas. Simple oats and raisins, no nuts or added tasty bits at all. My granola is full of hearty goodness.


I most certainly could have made this cheaper as well, by narrowing the ingredients down a bit.  I could have chosen coconut OR cranberries, for example.

And since I had such success making granola, I spent the whole day today canning my own beans. Sounds totally exciting, right?

Thursday, January 5, 2012

Chapter 3, wherein we conclude the adventures of a 6 year old table that wished it was 100!

Or something . . .
I'm working on the titles.

Remember how I sanded the table? And then I did a lot of other stuff to it?
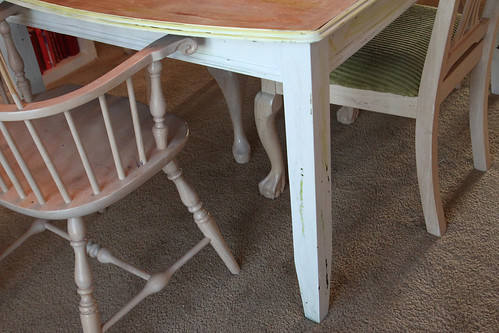
Well, after that, my dad (the boss of all wood involved projects) offered to spray the finish on my table for me. 

Who am I to turn down an offer like that?
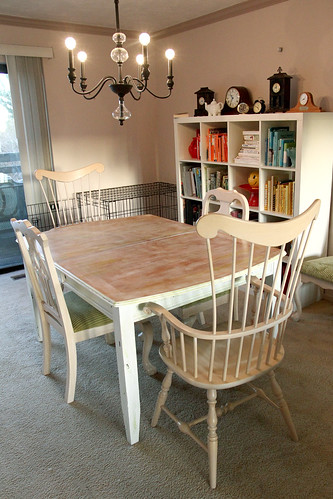
I want to stress, though, that I certainly would have simply finished it on my own, if he hadn't offered.  While the fact that the finish was, in the end, sprayed on the table did make the process much easier and faster, but it certainly would have been doable without the help.

After assisting with loading the table into my dad's truck, riding along as he drove it to his house, and assisting in the unloading of the table, my work was pretty straightforward and simple from there on out.

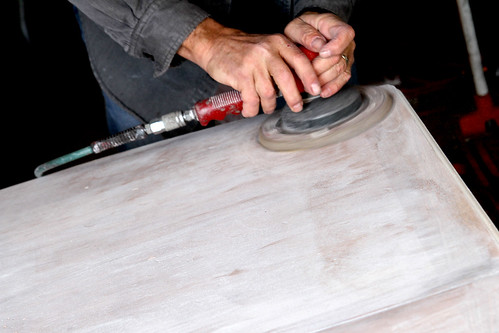
Watch my dad do one final sanding with his sander that works significantly faster and better than mine.

Dad's fancy sander

I had intended to do this myself, but it literally took him four minutes to do one final finish sanding.  I love how the wood shows through just a bit.  Perfect!

After sanding

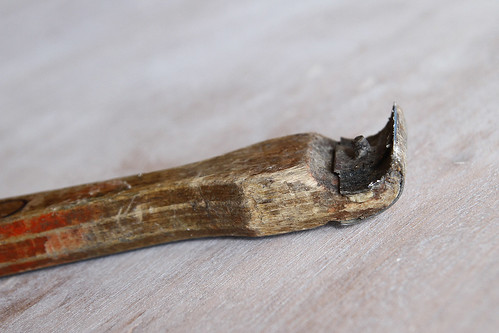
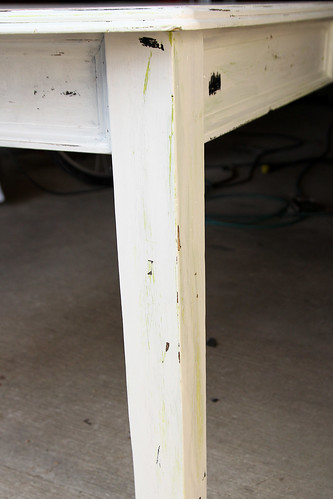
While  he did wood-guy things in the garage I used his pretty awesome wood-guy's scraper to distress the legs and edges of the table top.  I ended up liking just the scraper and never did end up doing any distressing with the sander. 

scraper

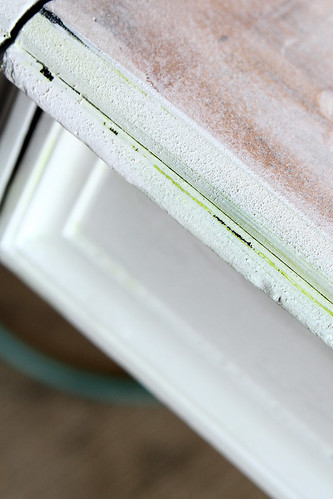
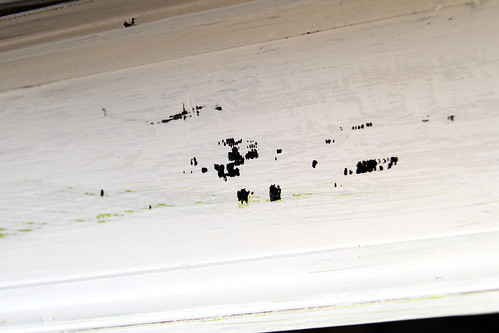
After the legs, table edges and base were distressed

edges

base

Distressed legs

the two of us got a little creative!

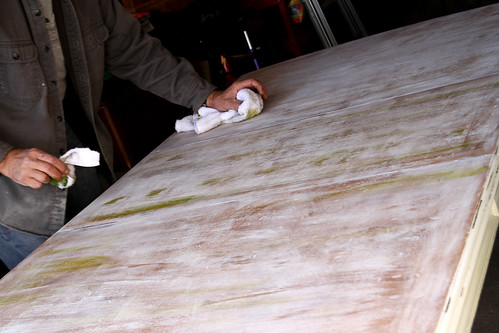
Dad mixed some chartreuse-ish paint tints with paint thinner. (He says paint in the color you like and whatever the packaging says to use to thin it would work the same. The tints were just used because he already had them on hand.) Then, just dabbing the edge of a rag in the tint, and blotting it thoroughly, he ever-so-gently wiped the color on to the table top in places.  He also wiped a little of it around the white rim. 

A little color

I ended up absolutely loving this effect because it makes the green on the legs really sing. You'd have to see it in person, but I feel like the green in the distressing is so much more noticible because of the tint on the table top.

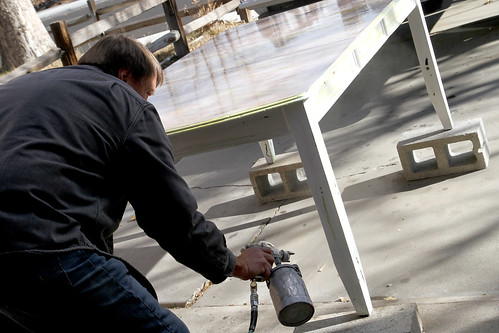
After a little more drying time, cleaning all the dust away, and putting the table up on cinder blocks in the driveway he sprayed the first of three coats of finish on the table. 

We used Minwax brand finish in "natural", applied with an automotive spray gun. Of course this could have been done with a brush. But if you know someone who has the ability to spray something for you, I highly recommend it. It was a snap to finish. Each coat took about 5 minutes to apply. Additional coats can be applied once the finish is mostly dry, unlike staining with a brush, where you have to wait until each coat is totally dry before reapplying.

Spraying on the finish

We let it dry about 1-2 hours after the first coat, and 20 minutes between the other two.

And that was it. 

It was left to dry overnight, in the heated garage.  The next day he brought it back to me, looking all pretty and stuff.

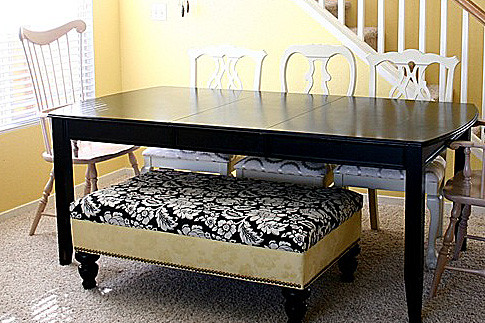
Home again!

Closer look

All Done

And that's it . . . for now.

My confession is that I have already done a little something else to this room, because after the table was redone I felt a little too shabby chic and not enough ecclectic chic.

I'll share that project soon.

Wednesday, January 4, 2012

How to make your not-old table look not-new. (part 2)

Ok, so when last I wrote we were discussing how to make a dining table that looks like this:

My table, in it's early days

look like this:

All Done

We talked about all the many years of sanding in the last post.  Which, after I posted, I thought "Sheesh, Emily.  You probably could have dealt with that in a couple sentences!"

But the good news is, I was thorough.

So after I had completely rid the table of it's painted top, I took some help from the family and gave it a little bit of a beating.

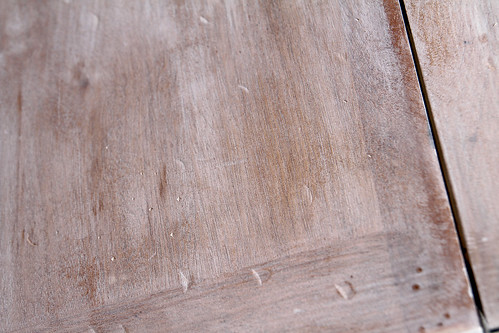
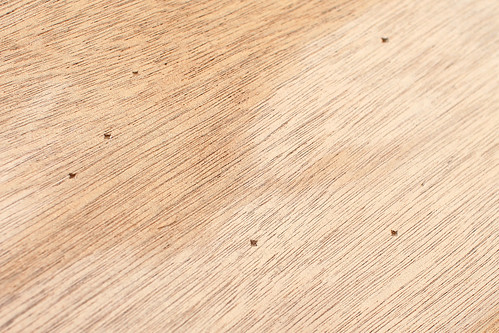
We made little x shaped divots in patches here and there by placing the point of a phillips head screwdriver on the table top and tapping it once or twice with a hammer.  Don't let your husband, or any adult male tap the hammer twice or you will get the largest x shaped divot ever.  Men are not subtle when it comes to hammers.  We also created lots and lots and lots of crescent moon shaped hammer head marks, everywhere.

Children like to beat furniture, they'll do it for you with no complaint at all. Husbands will get a little carried away and possibly need to be told to slow down.

divots

The hammer marks were difficult to see before the finish process highlighted them. I'll post another photo of that below.

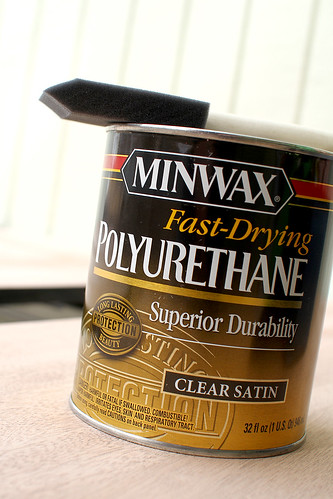
After the abuse, I cleaned the table top off with a dry towel (canned air would be perfect for this) and applied two coats of polyurethane with a sponge brush.

Step 1

Since I knew that I wanted the wood to show through the paint, I elected to use this particular product to deepen the wood color, before I started painting.  I never would have thought to do this if it weren't for this post from The Lettered Cottage.  So Layla gets all the credit on that one. 

I did two coats of poly, allowing it to dry a couple of hours between each coat. 

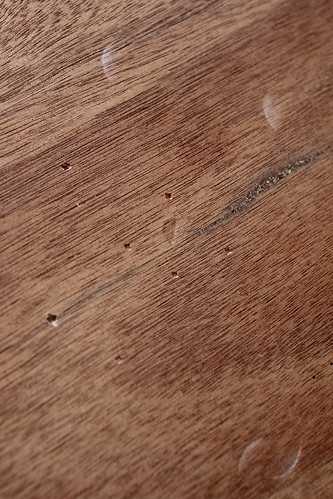
divots with poly

The distressing was a little more visible after the poly went on.

You can also see a spot there where the veneer was totally gone, as well as a fresh hammer mark or two that we added after we did the poly. We just felt like it needed a few more. (Don't forget how husbands like to hit tables with hammers, he couldn't help himself.)

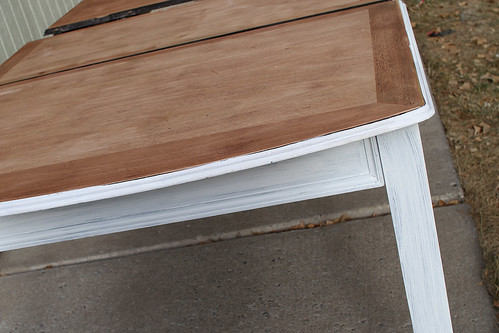
After two coats of polyurethane the table looked like this:
after poly

You can see in the above photo that I attempted to sand the edges of the table down, only to discover that the edges of the table were terrible and awful and apparently made of paper, or possibly cow patties and straw.  I don't actually know what they're made of, but while sanding the material kind of just crumbled off.  The legs were also made of this material. 

After some thought and semi-careful planning I decided I would go ahead and paint the edge of the table white, just as I planned to do with the base.  All I did to prep the legs was a super light rough-up with the sander, just so the paint would stick.

I think I did about 3 coats of white paint, alternating with the 2 coats of poly I did on the table top, thereby reducing my down time.  As it worked out I ended up working outside on the table for pretty much the entire day.

After a couple coats of white, most of the black was covered and the edge was looking much nicer.

painted base

See the brush marks on the legs?

I wasn't particularly worried about those.  I had plans for the legs, that involved making them look much worse (which is also better, right?) than a few brush strokes made them look.

When most of the black was covered I pulled out my secret weapon.

now for fun!

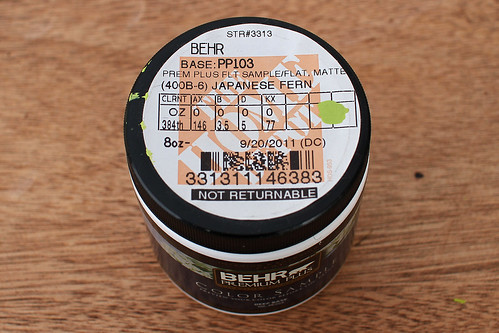
A tiny little tester pot of Japanese Fern by Behr.  I purchased this several moths ago as a tester for my bathroom linen closet door, but since I've yet to test anything, it's just been sitting around the house waiting to be used.  I definitely hadn't planned to use this particular paint on this particular table, but when the idea hit me I was excited, so I went to town.

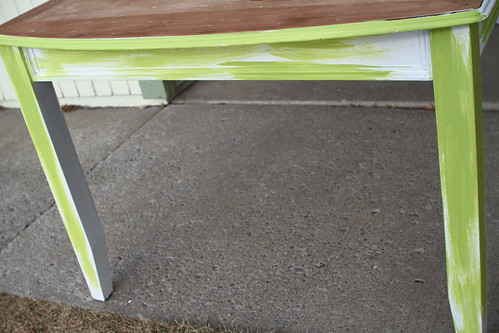
I painted the green in patches all over the edges and base of the table.

With green

After I let the green patches dry I painted another good full-coverage coat of white over that. All of this was done, of course, with the intention for it to show through later when I distressed the legs and base of the table. You can't see it in the after photo I've posted, but I have detail photos I'll share later.

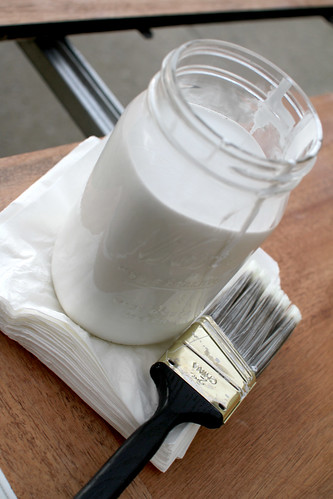
For my final step of the day I applied the white wash to the top of the table.  I used off the shelf white from Home Depot, that I already had on hand.  Mixing about half water and half paint in a mason jar, I made approximately 16 times more white wash than I needed. Just so you know.

jar of paint

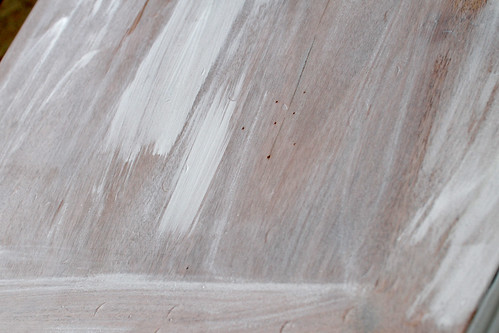
Since the very wet water and paint mixture goes on super wet, I decided I would actually drizzle wet paint on the table in sections. Then I used a pretty gnarly looking, cheapo, dry paint brush to smear it around on the table top, thereby leaving streaks in the top and allowing the wood to show through.  I brushed the paint in the direction of the grain making sure to leave sections of thick paint and sections of thin paint.

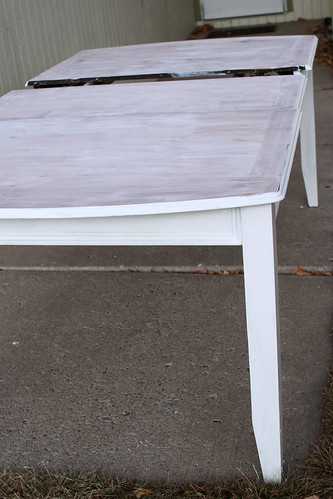
after whitewash

The process of covering the table top went very fast and before I knew it was covered.
When I put the table up for the night, it looked like this:

done for the night


Tomorrow, I'll post the conclusion of this project! And for now I'll tell you that I just totally love my new table a whole lot. I'm so thrilled to have been able to actually do this!